Gilding; Incase you didn't know- I'm a fan.

A hand gilded piece to frame a Pre Raphaelite work.
It’s always a great joy when a customer is openly happy to hear that you hand finish frames according to their own specifications and art works. Rather than puzzled looks while their eyes glance rapidly around my chaotic workshop for some hint of a ready- made cornice. And I can only apologise and say- no. I just make it all myself. So when you are met with a rapturous reply of- that’s amazing!!? I didn’t know that was possible!!... I am quite happy to say that I can cast self doubt out of the window for at least the next ten minutes.
This recent project has been a bit of light relief in the midst of a couple of ongoing works. Happily our customer was keen to see one of her images decked out in gold, so this blog is going to feature how I water-gilded this particular frame. For those of you who have not already heard- I love gilding and am very passionate about it. Whats more, water-gilding has been my interest since I started practicing some years ago. The whole concept of gilding is an art not only in decoration and design, but patience, concentration and persevierance. You cannot really, multitask and the results are well worth the hard work.
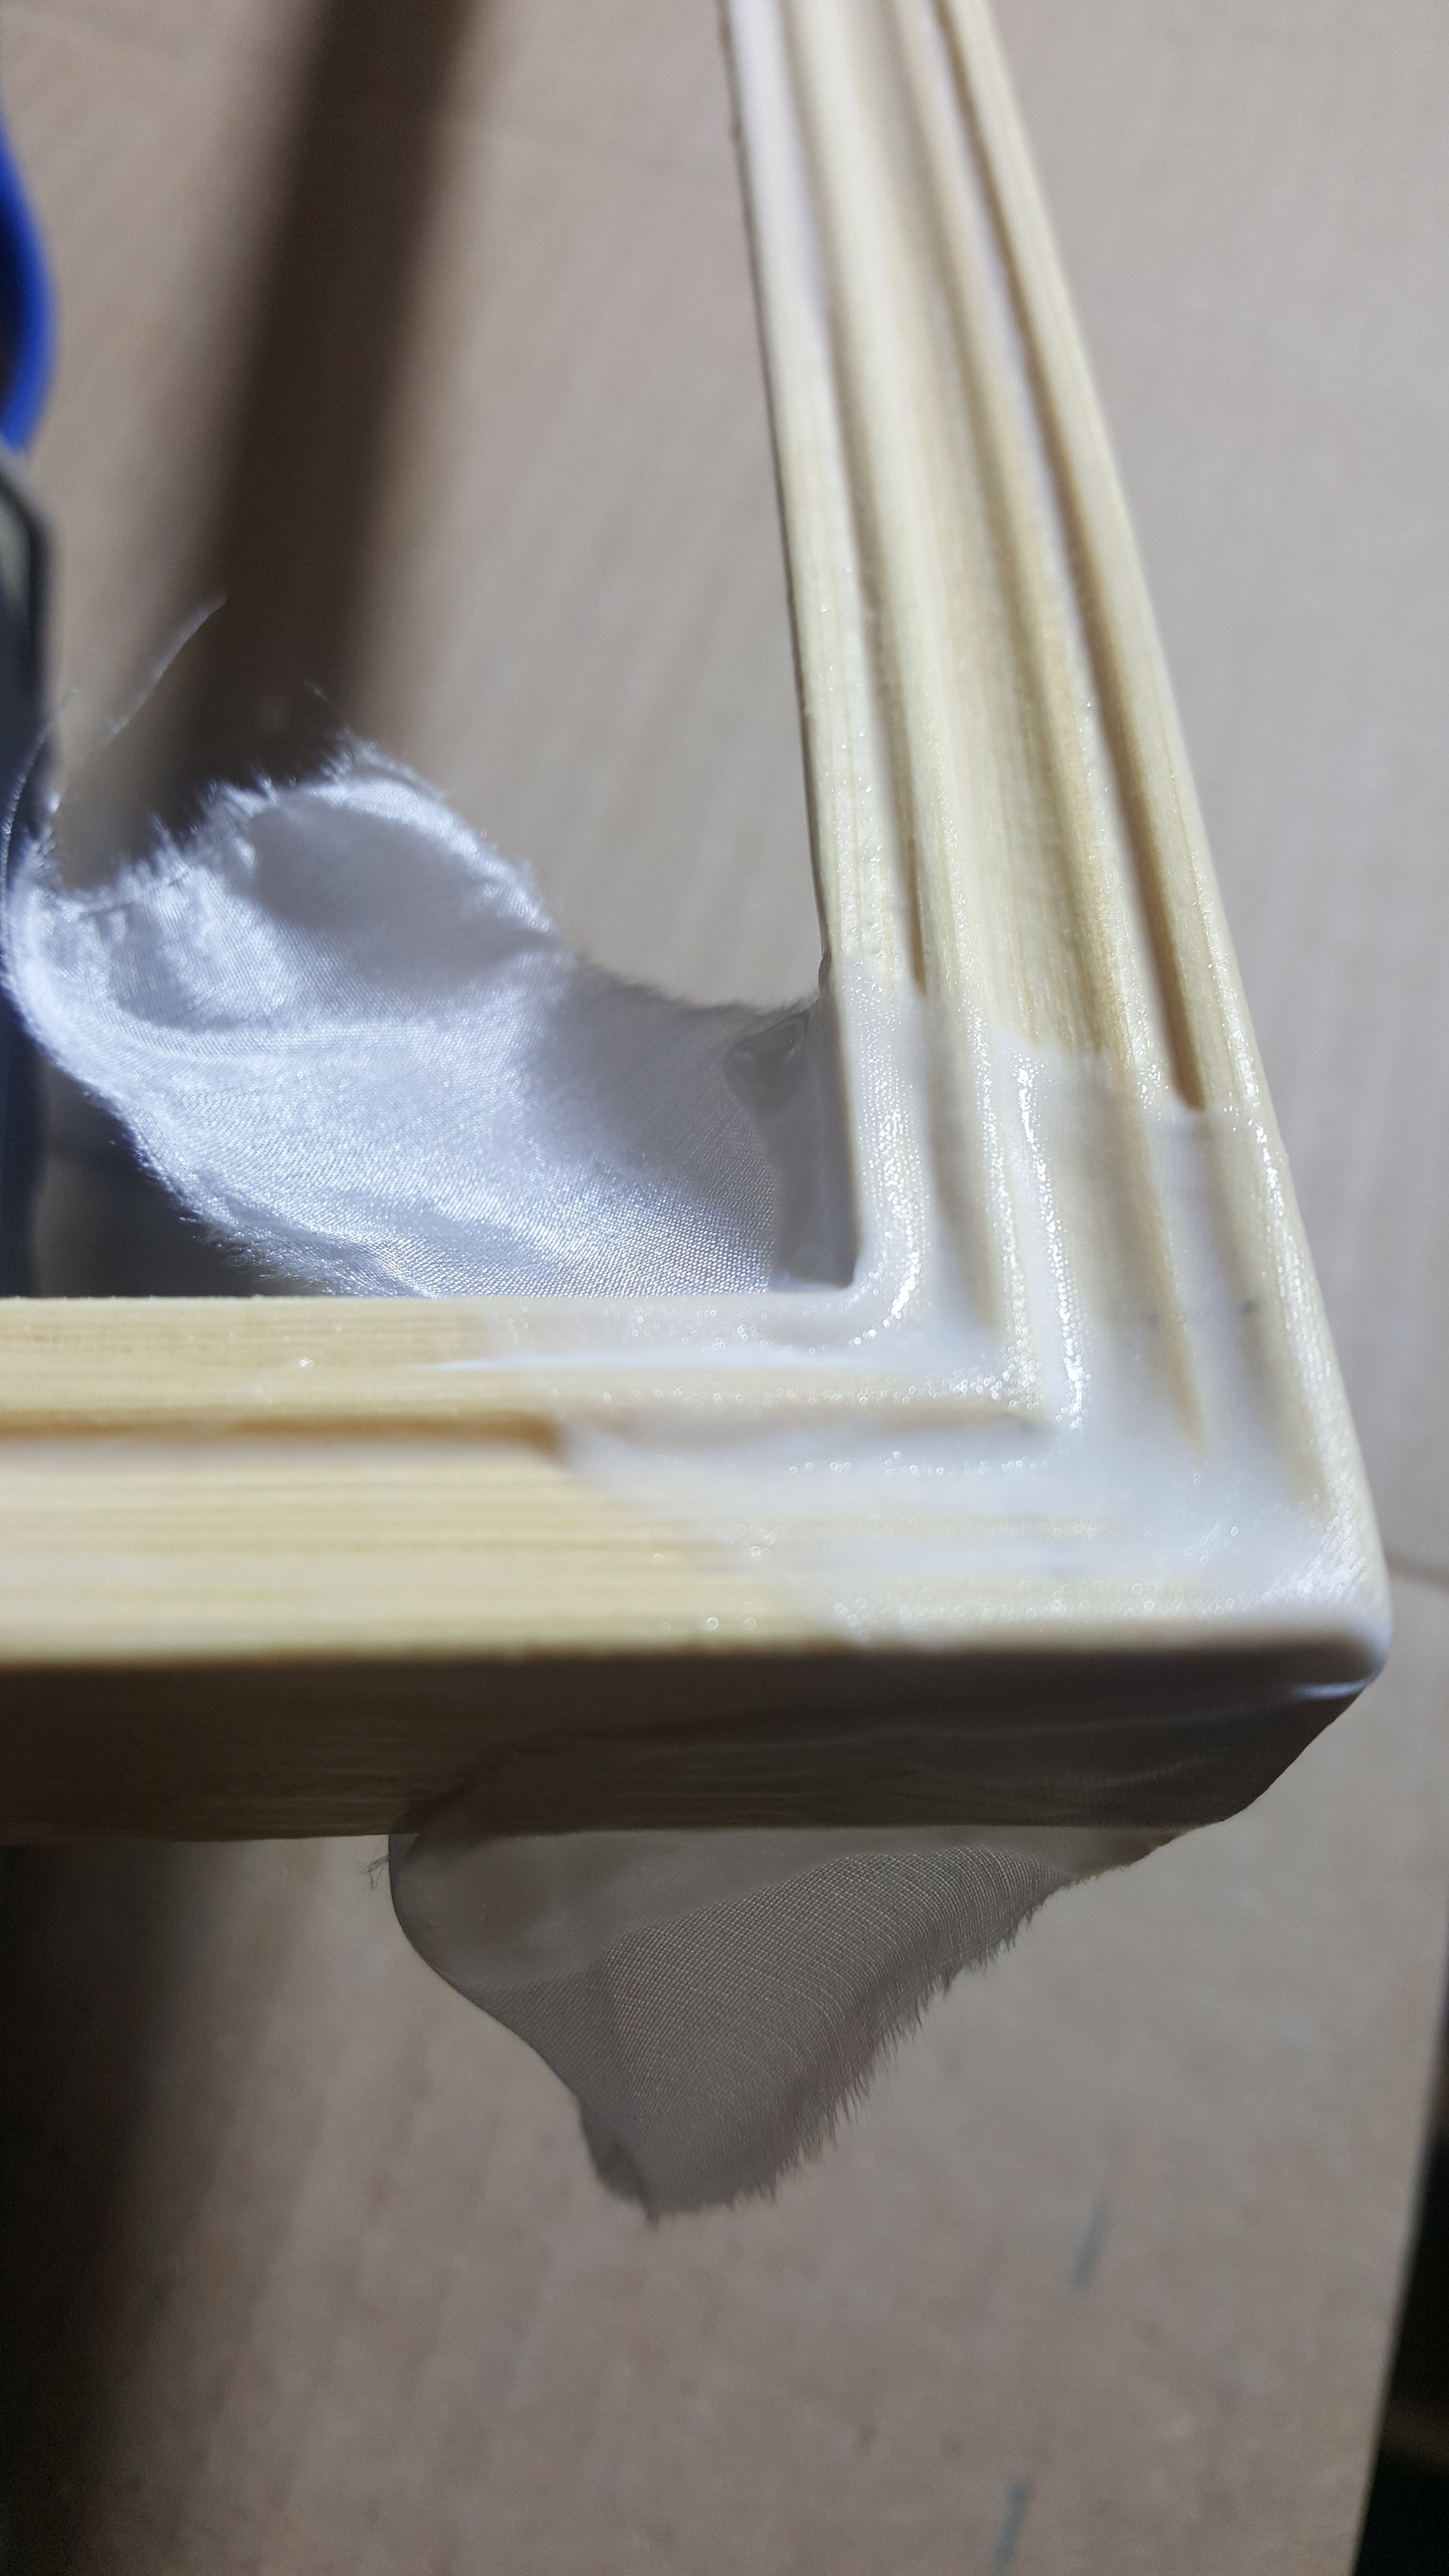
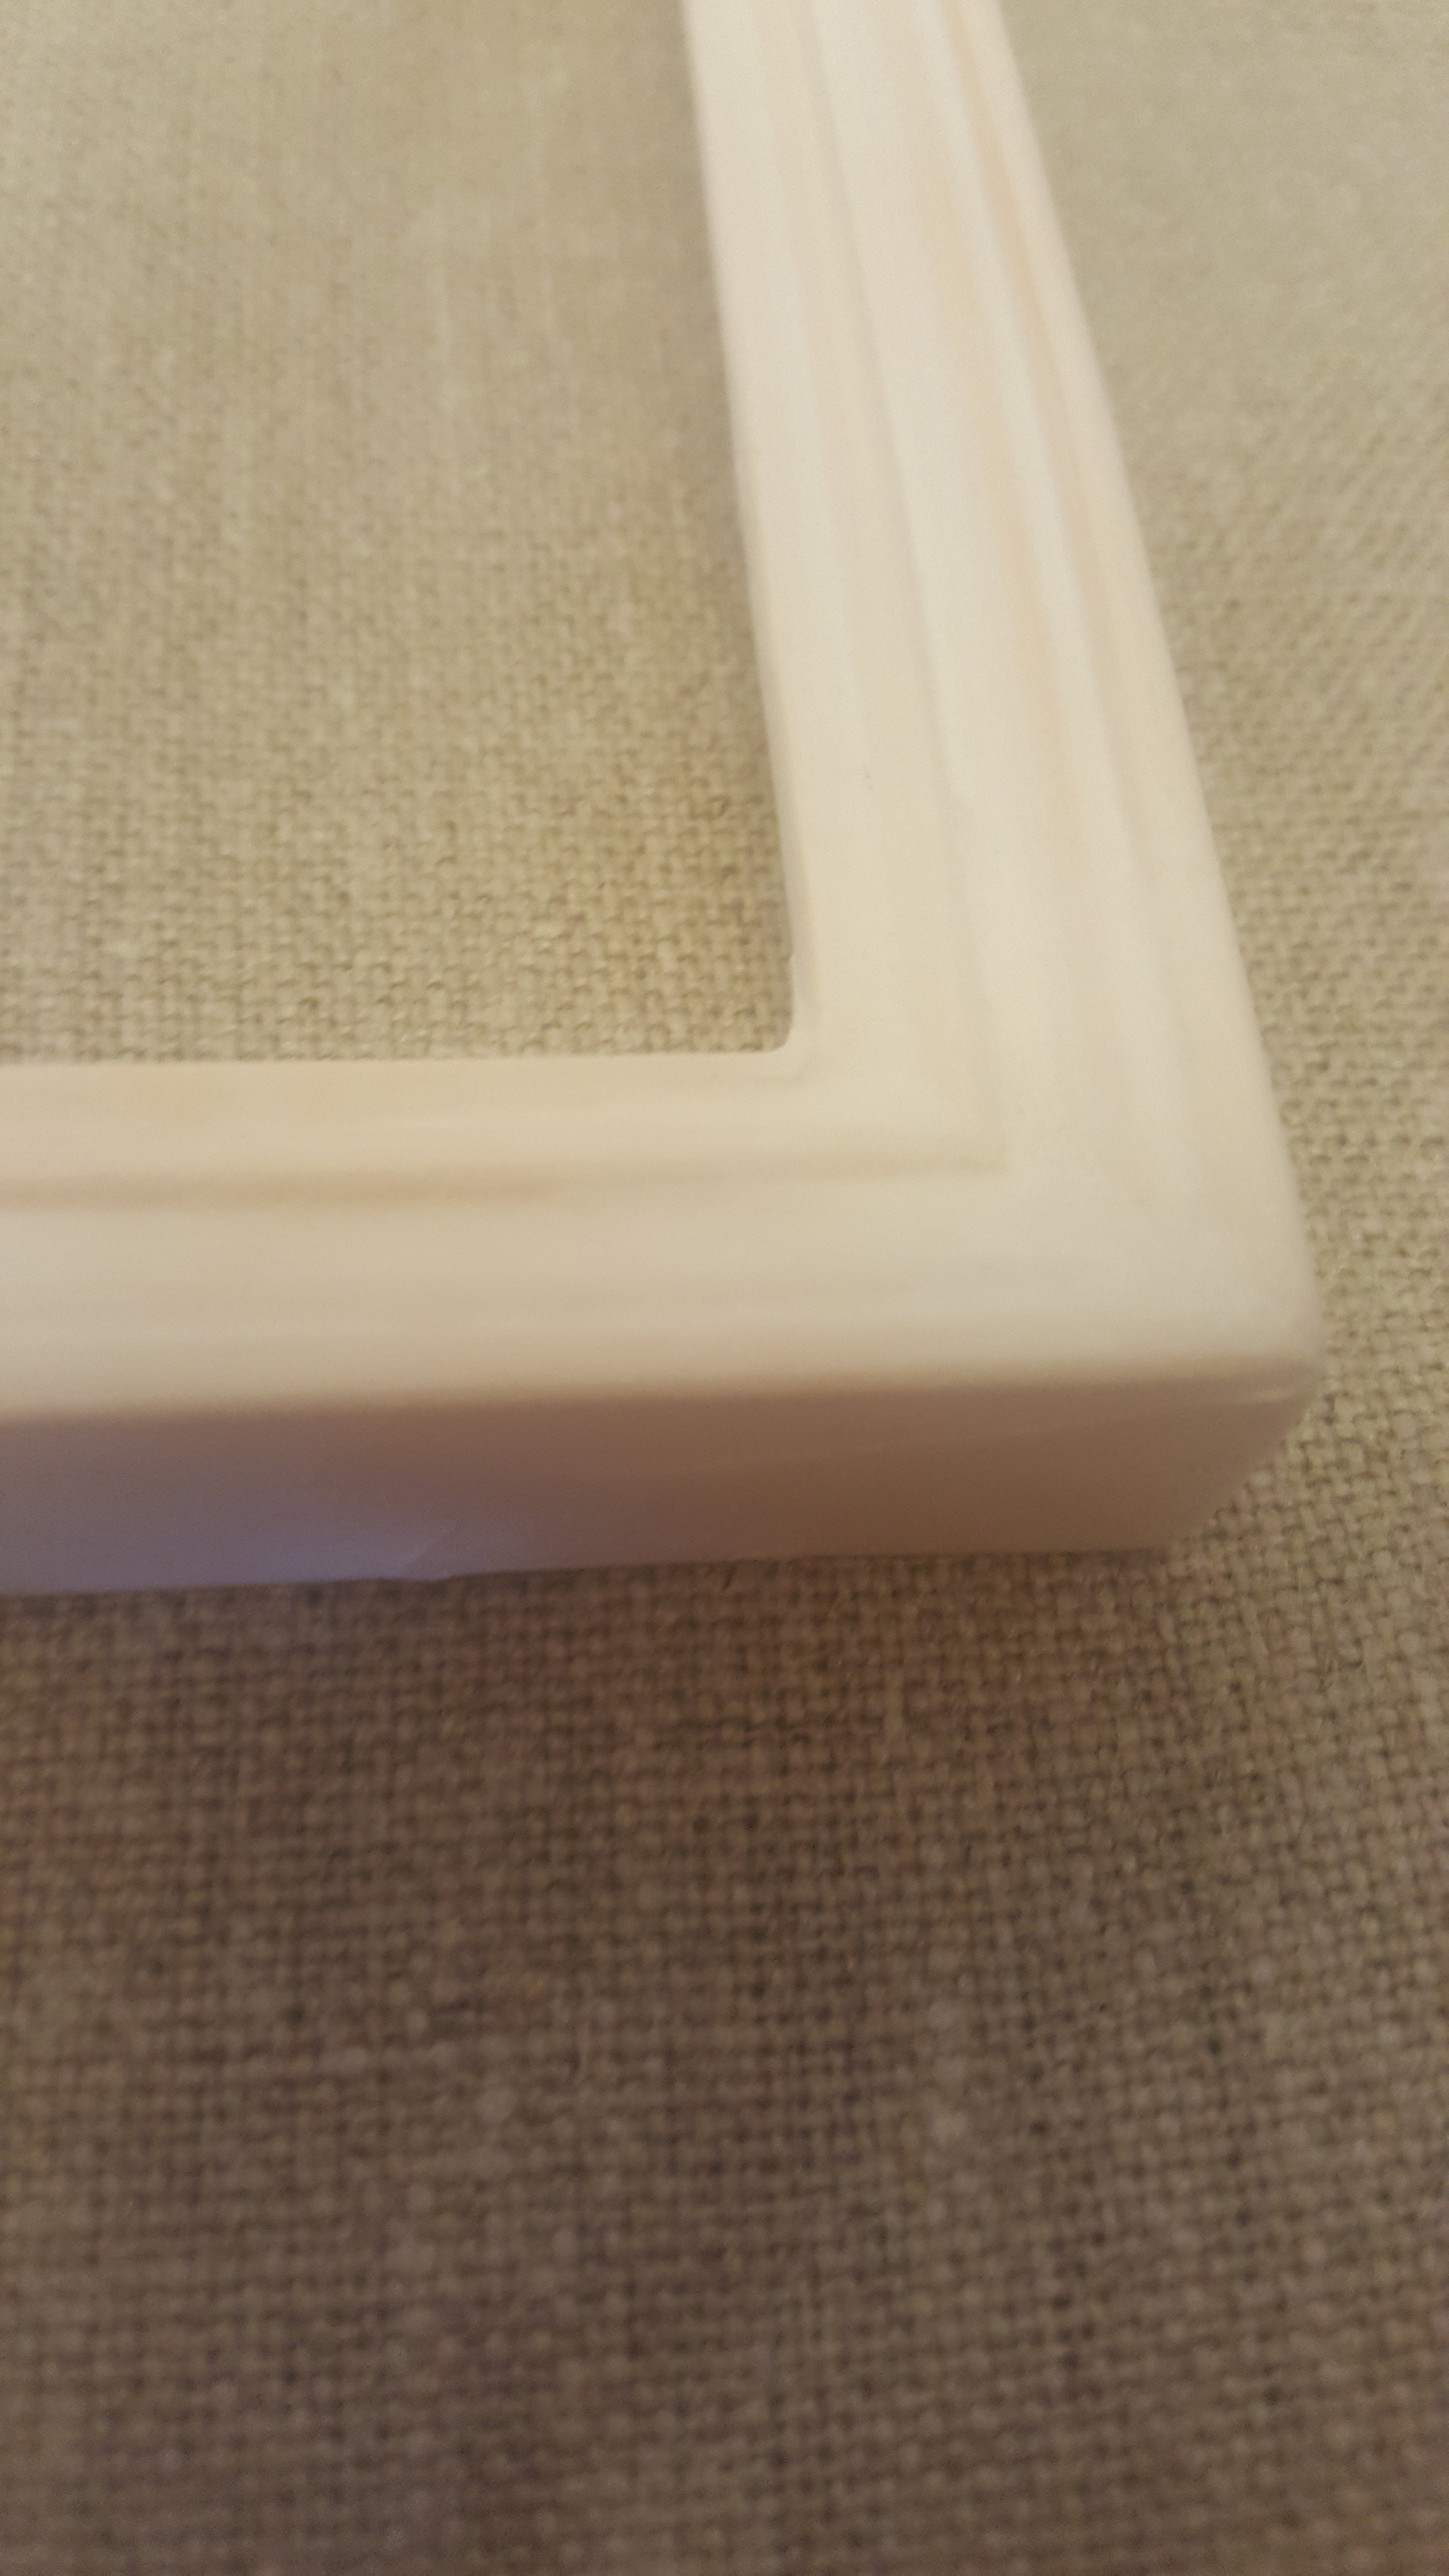
The work began with the decision to frame the print in a narrow frame with a little subtle ornamentation. After building the frame I secured the corners with silk to conceal the joins and then began with thin layers of gesso.
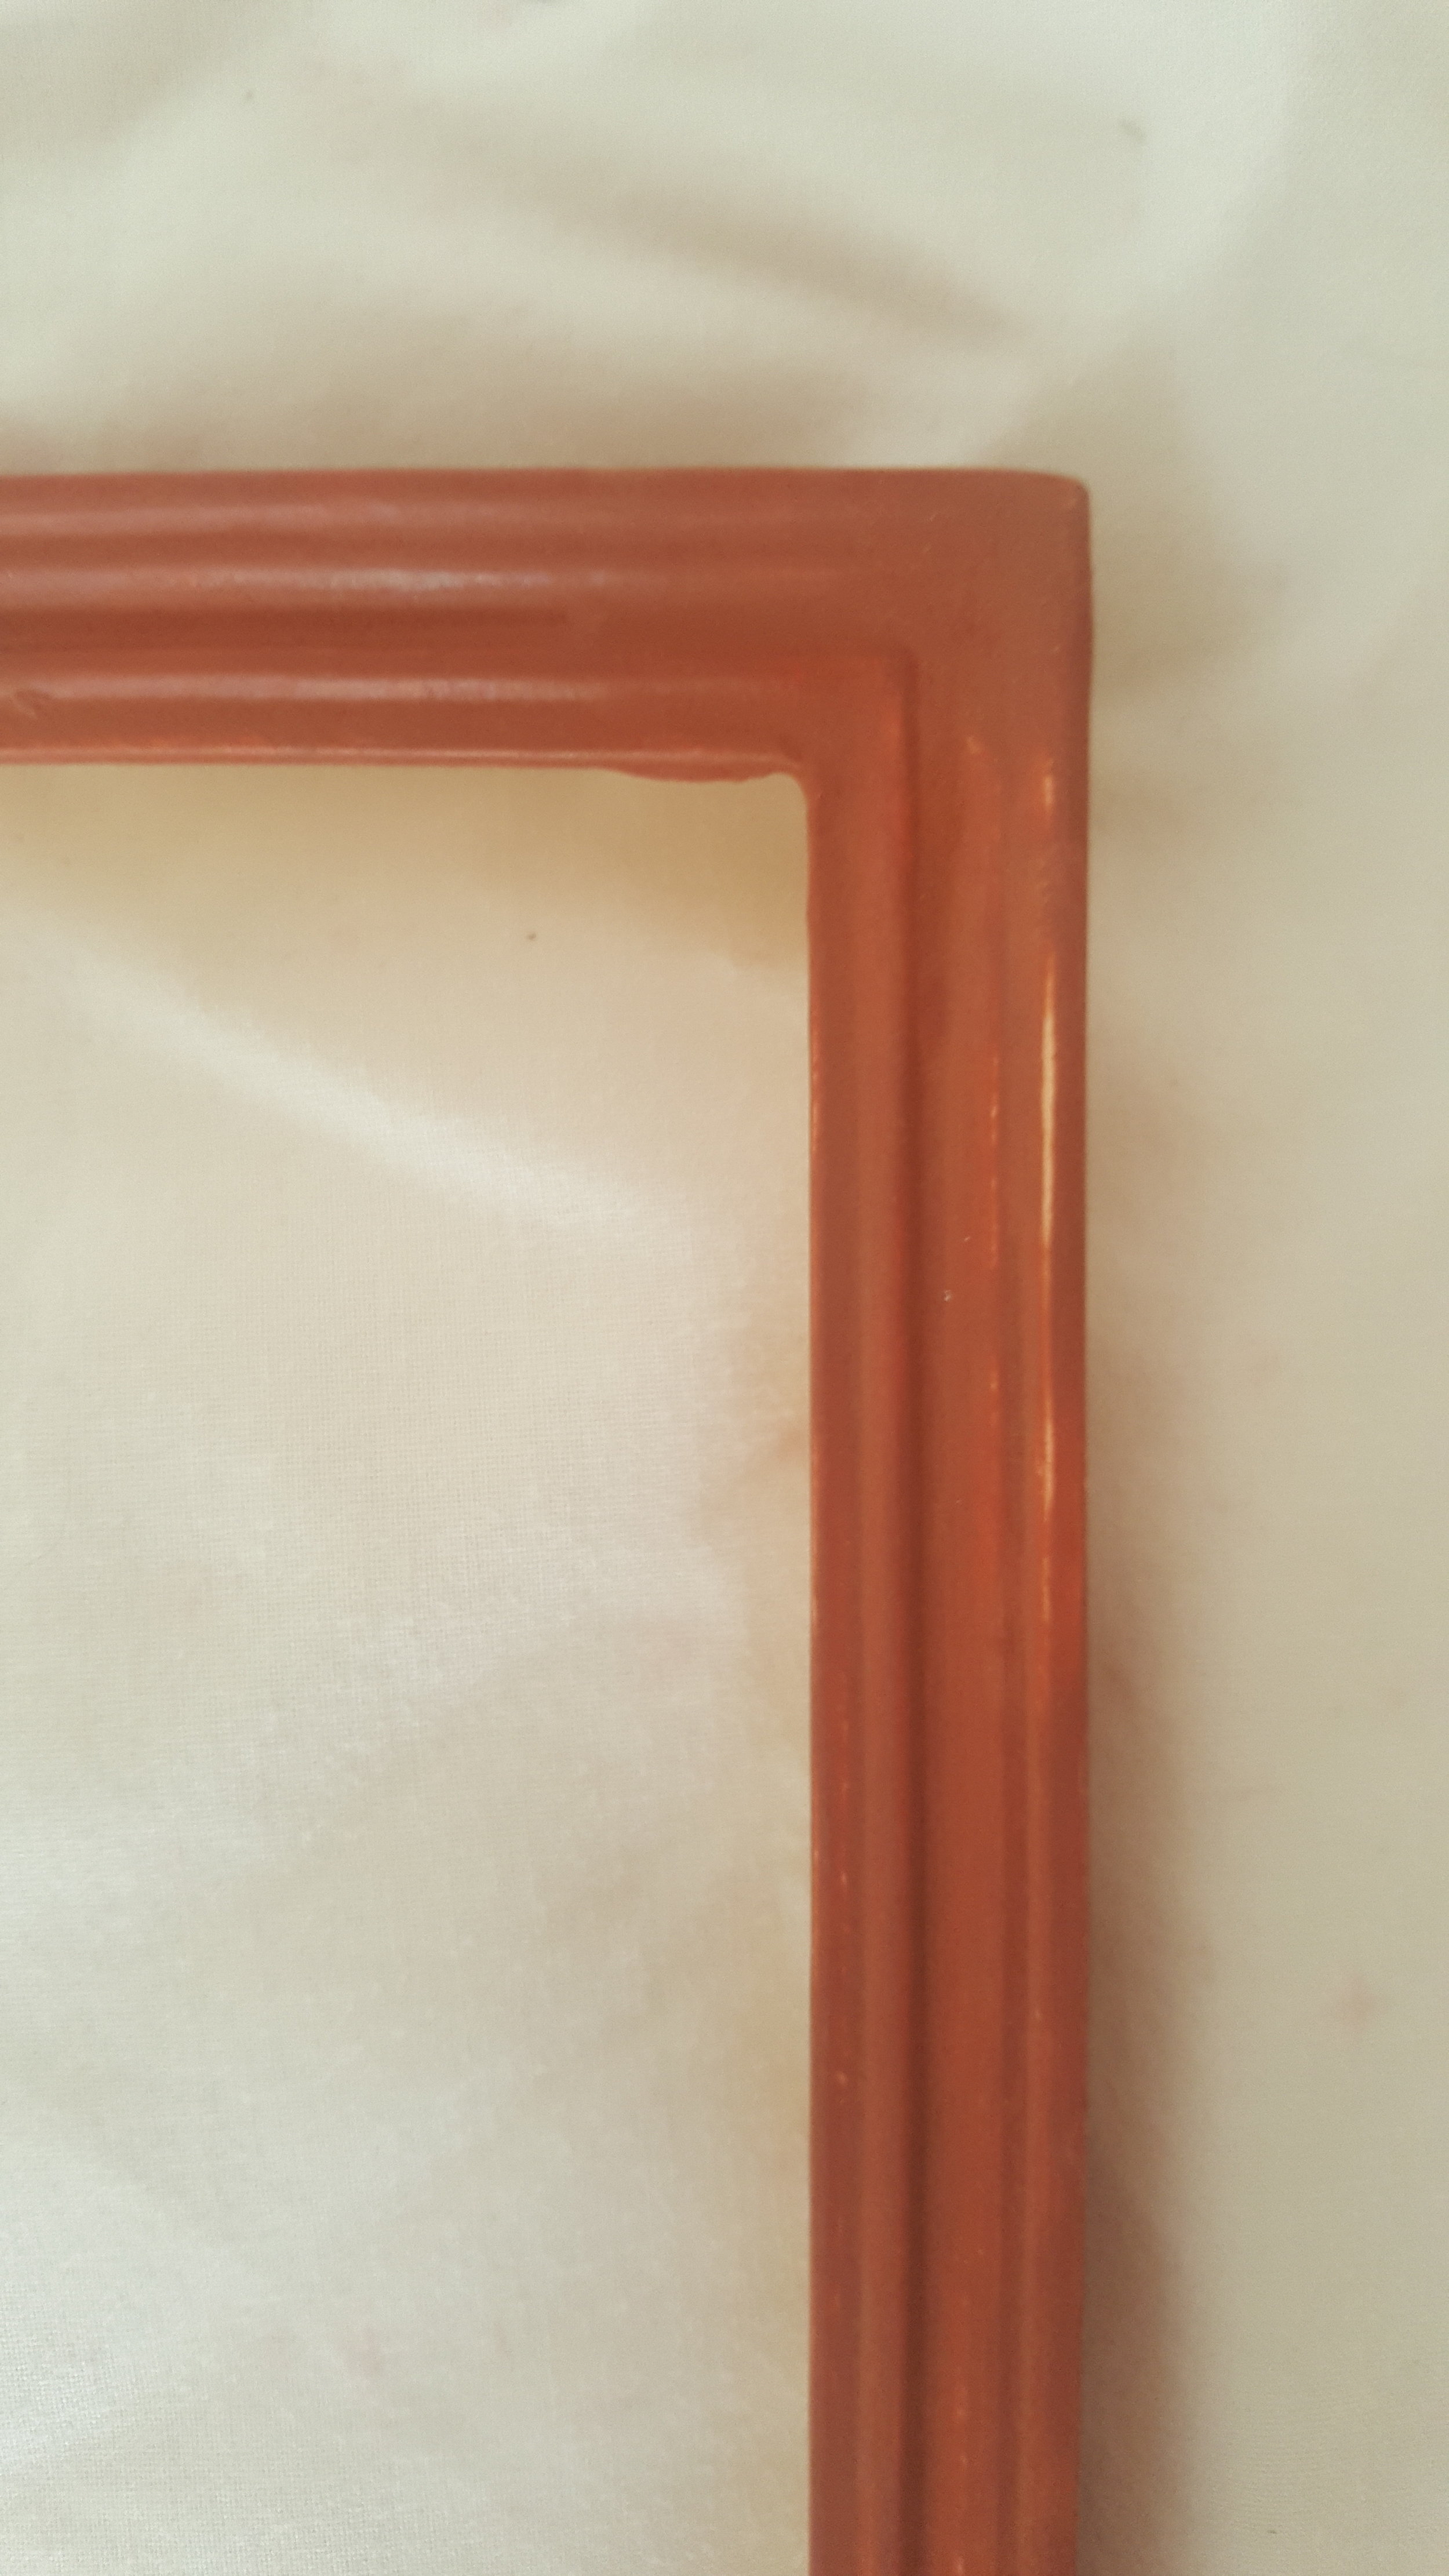
Having discussed colour options with the customer, we agreed to use a classic red under bole for beneath the gold. So layering the bole was the next stage in the process. Once enough layers had been completed, it was time to smooth and burnish the bole, in order to make the gilded surface possible to burnish (burnishing is a process in which the gold can be made brighter and stands out against the rest of the surface). Once the red surface has been smoothed and burnished appropriately, it is time to get on the gold! The leaf is cut up using a specialist knife into appropriate size. Since the moulding used was a little ornamented I made sure to cut each leaf into varying sizes so that on more delicate ridges the gold would catch onto the curves without too much tearing.
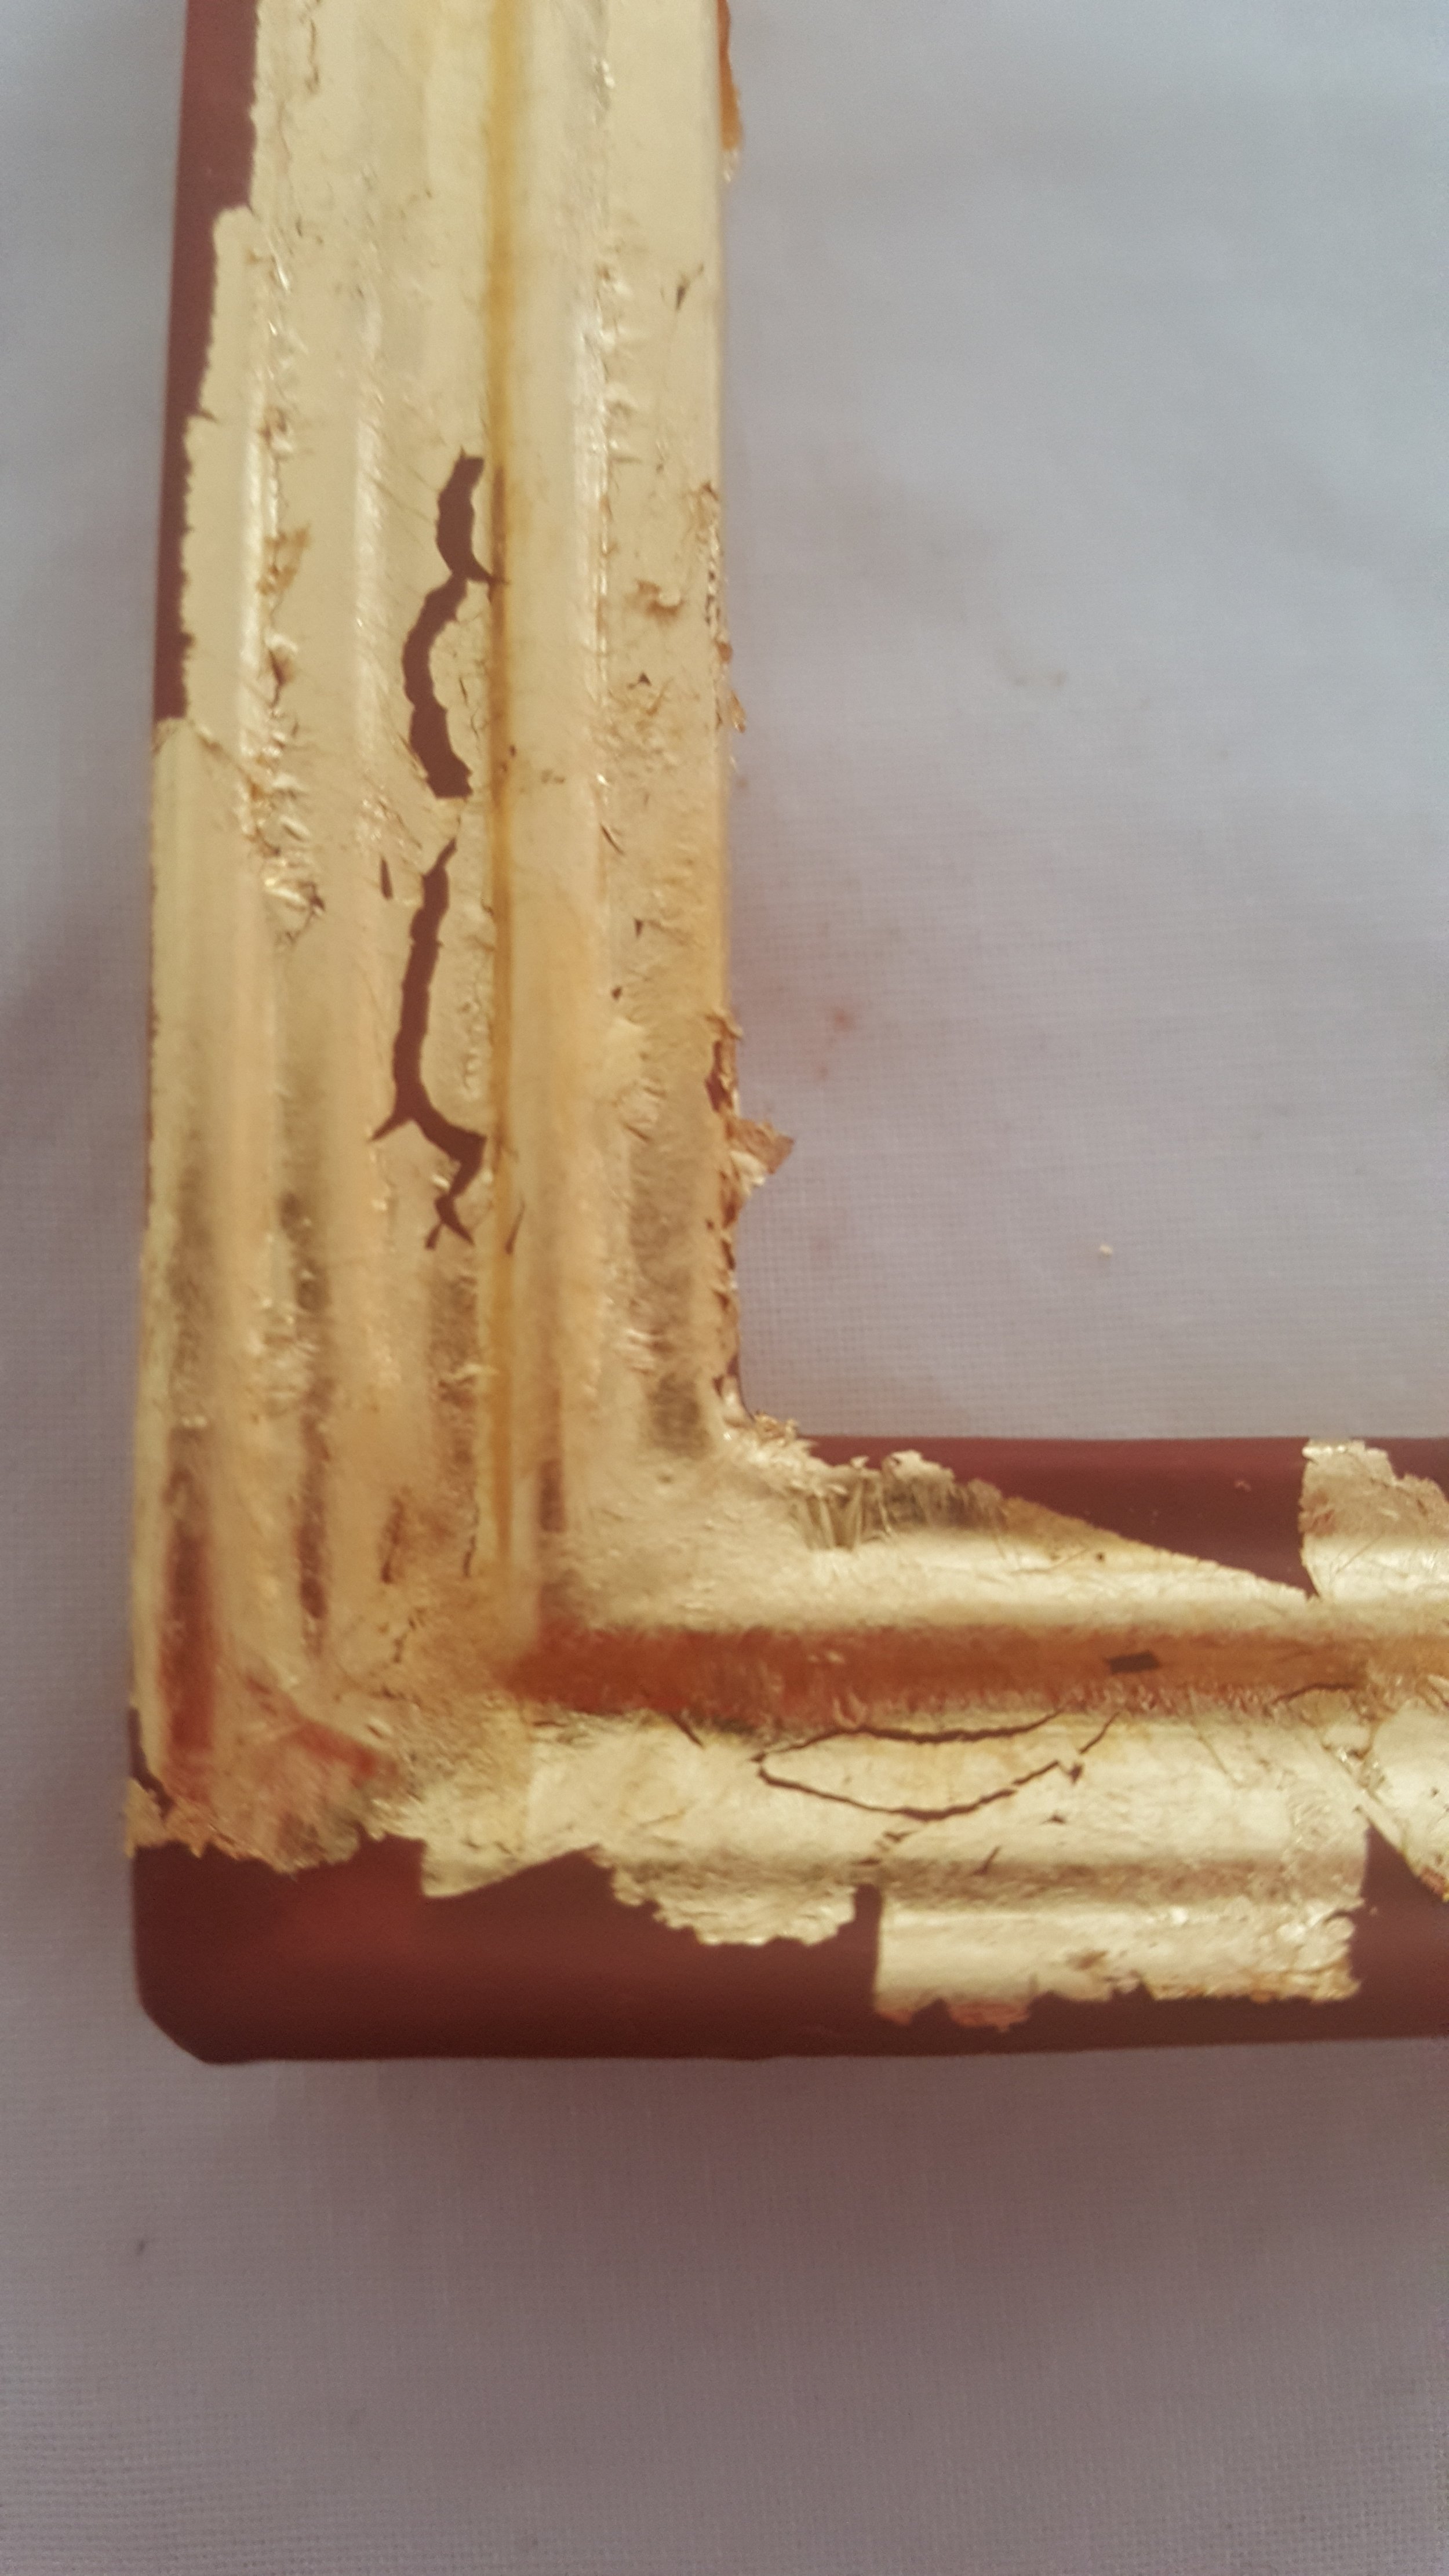
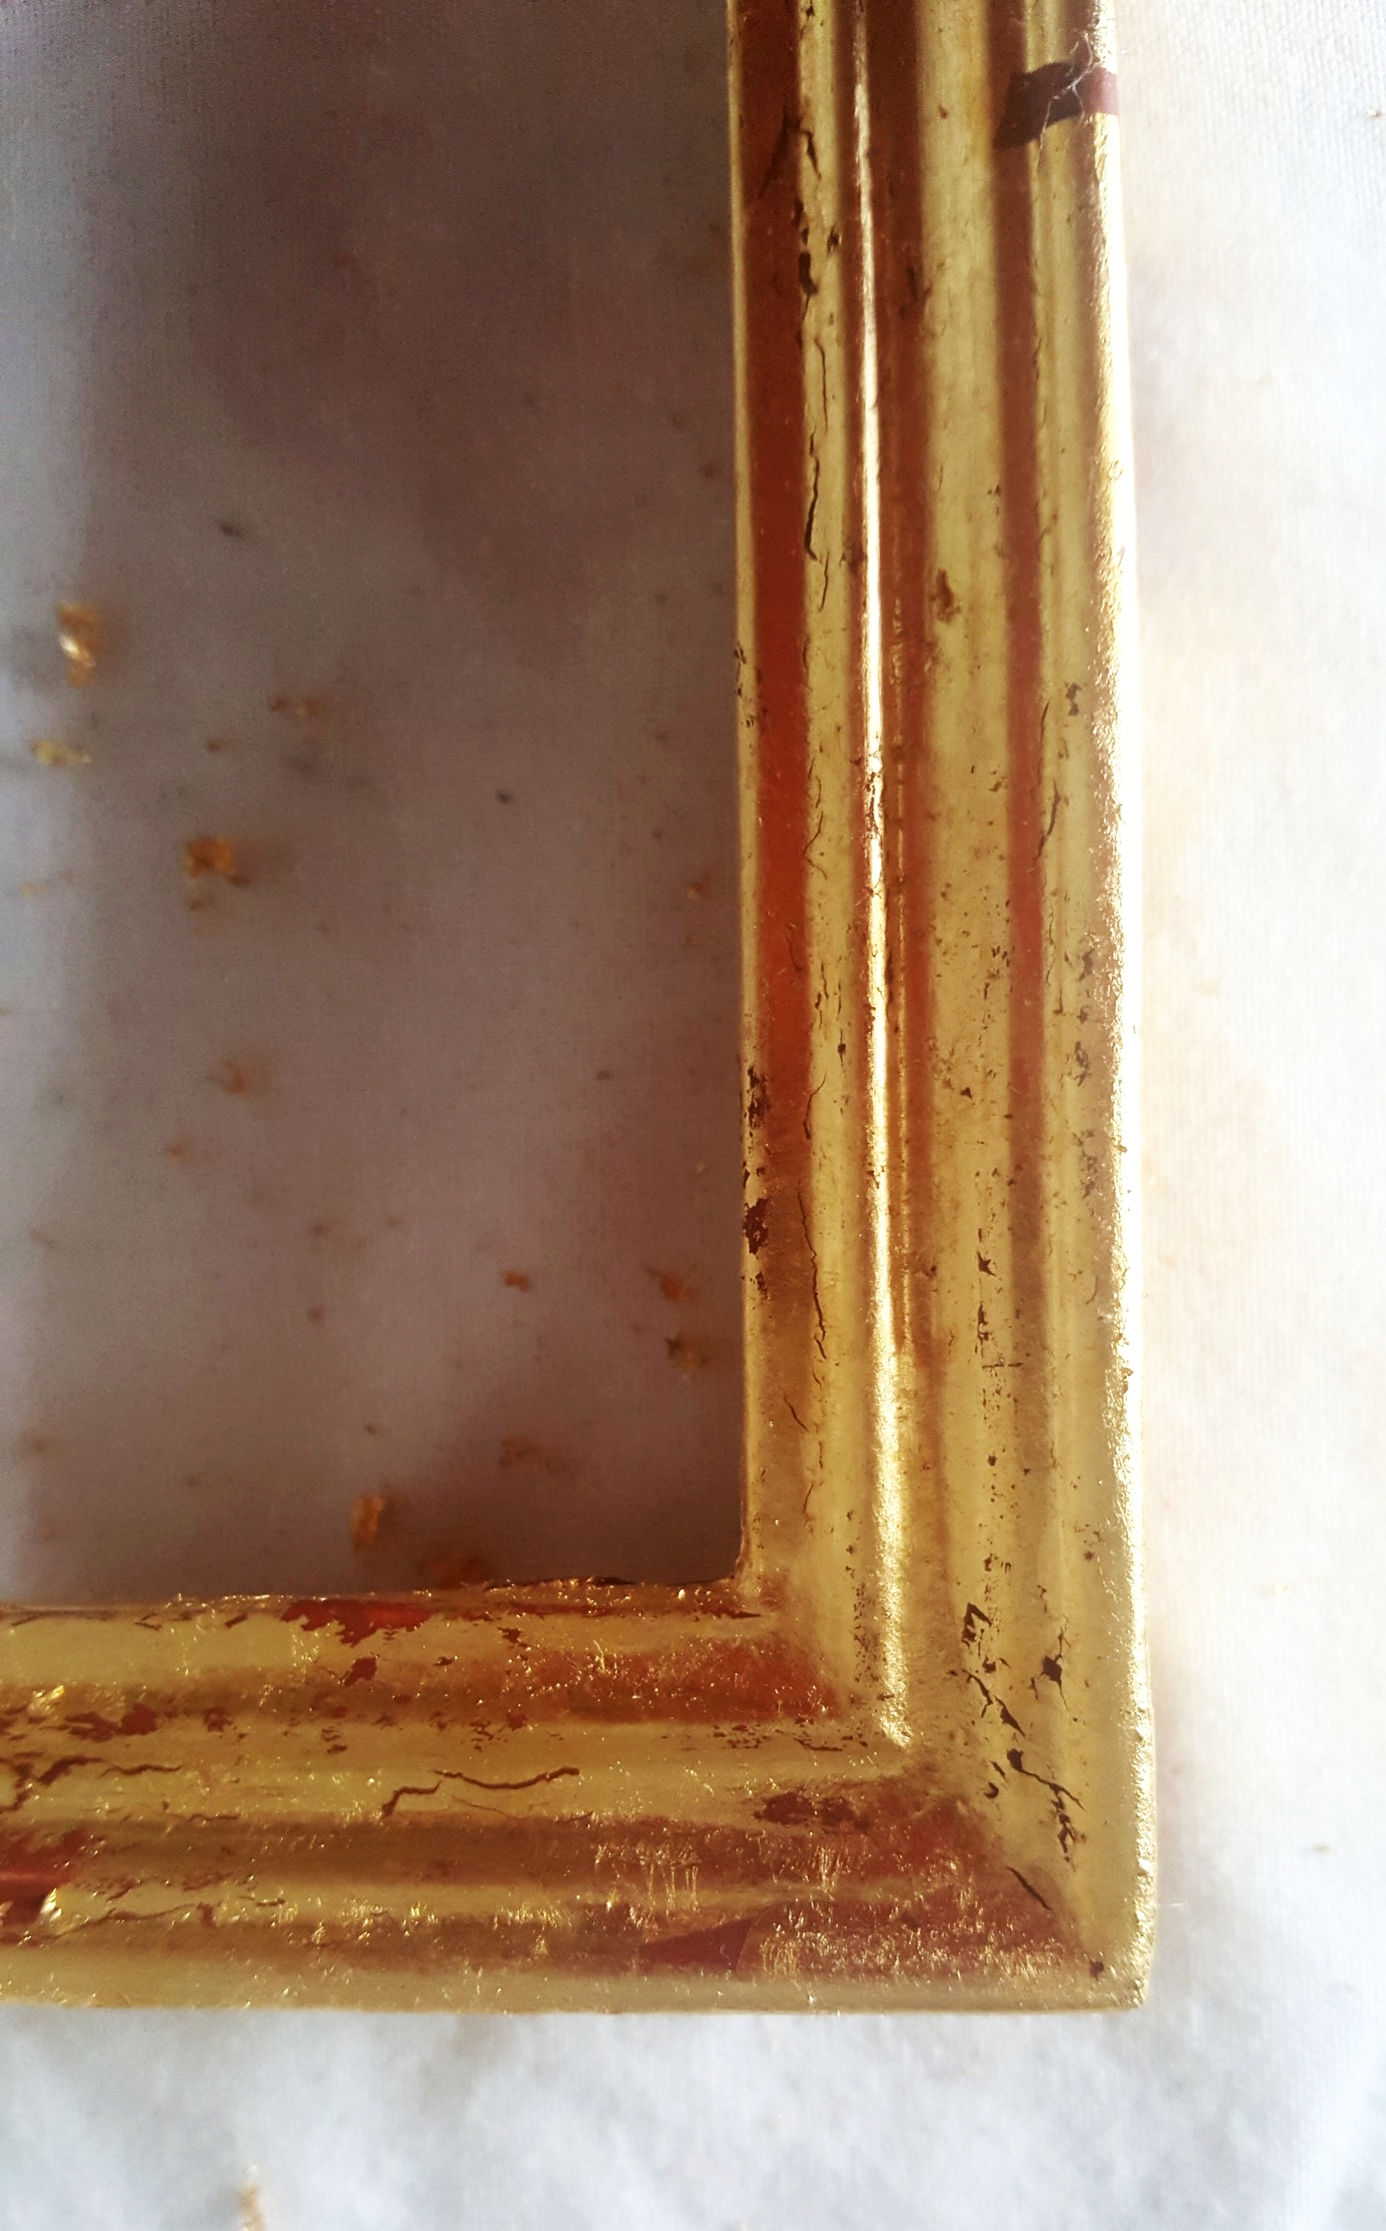
The frame as the gold is applied…
Having layered the gold over once and brushed the excess off; the gold was reapplied in the same manner, making sure to overlay slightly each leaf. Bearing in mind that the gold is going to be distressed, we are not too worried about a little gap in some of the gold!! Some red shining through is beautiful as long as it is proportionate!
The now gilded frame is then burnished with an agate stone to achieve a fine shine, and lightly waxed to preserve the finish. The surface can alternatively be sealed with a shellac. Dust and rotton stone is also rubbed into the waxed surface to give depth and time to the final appearance.
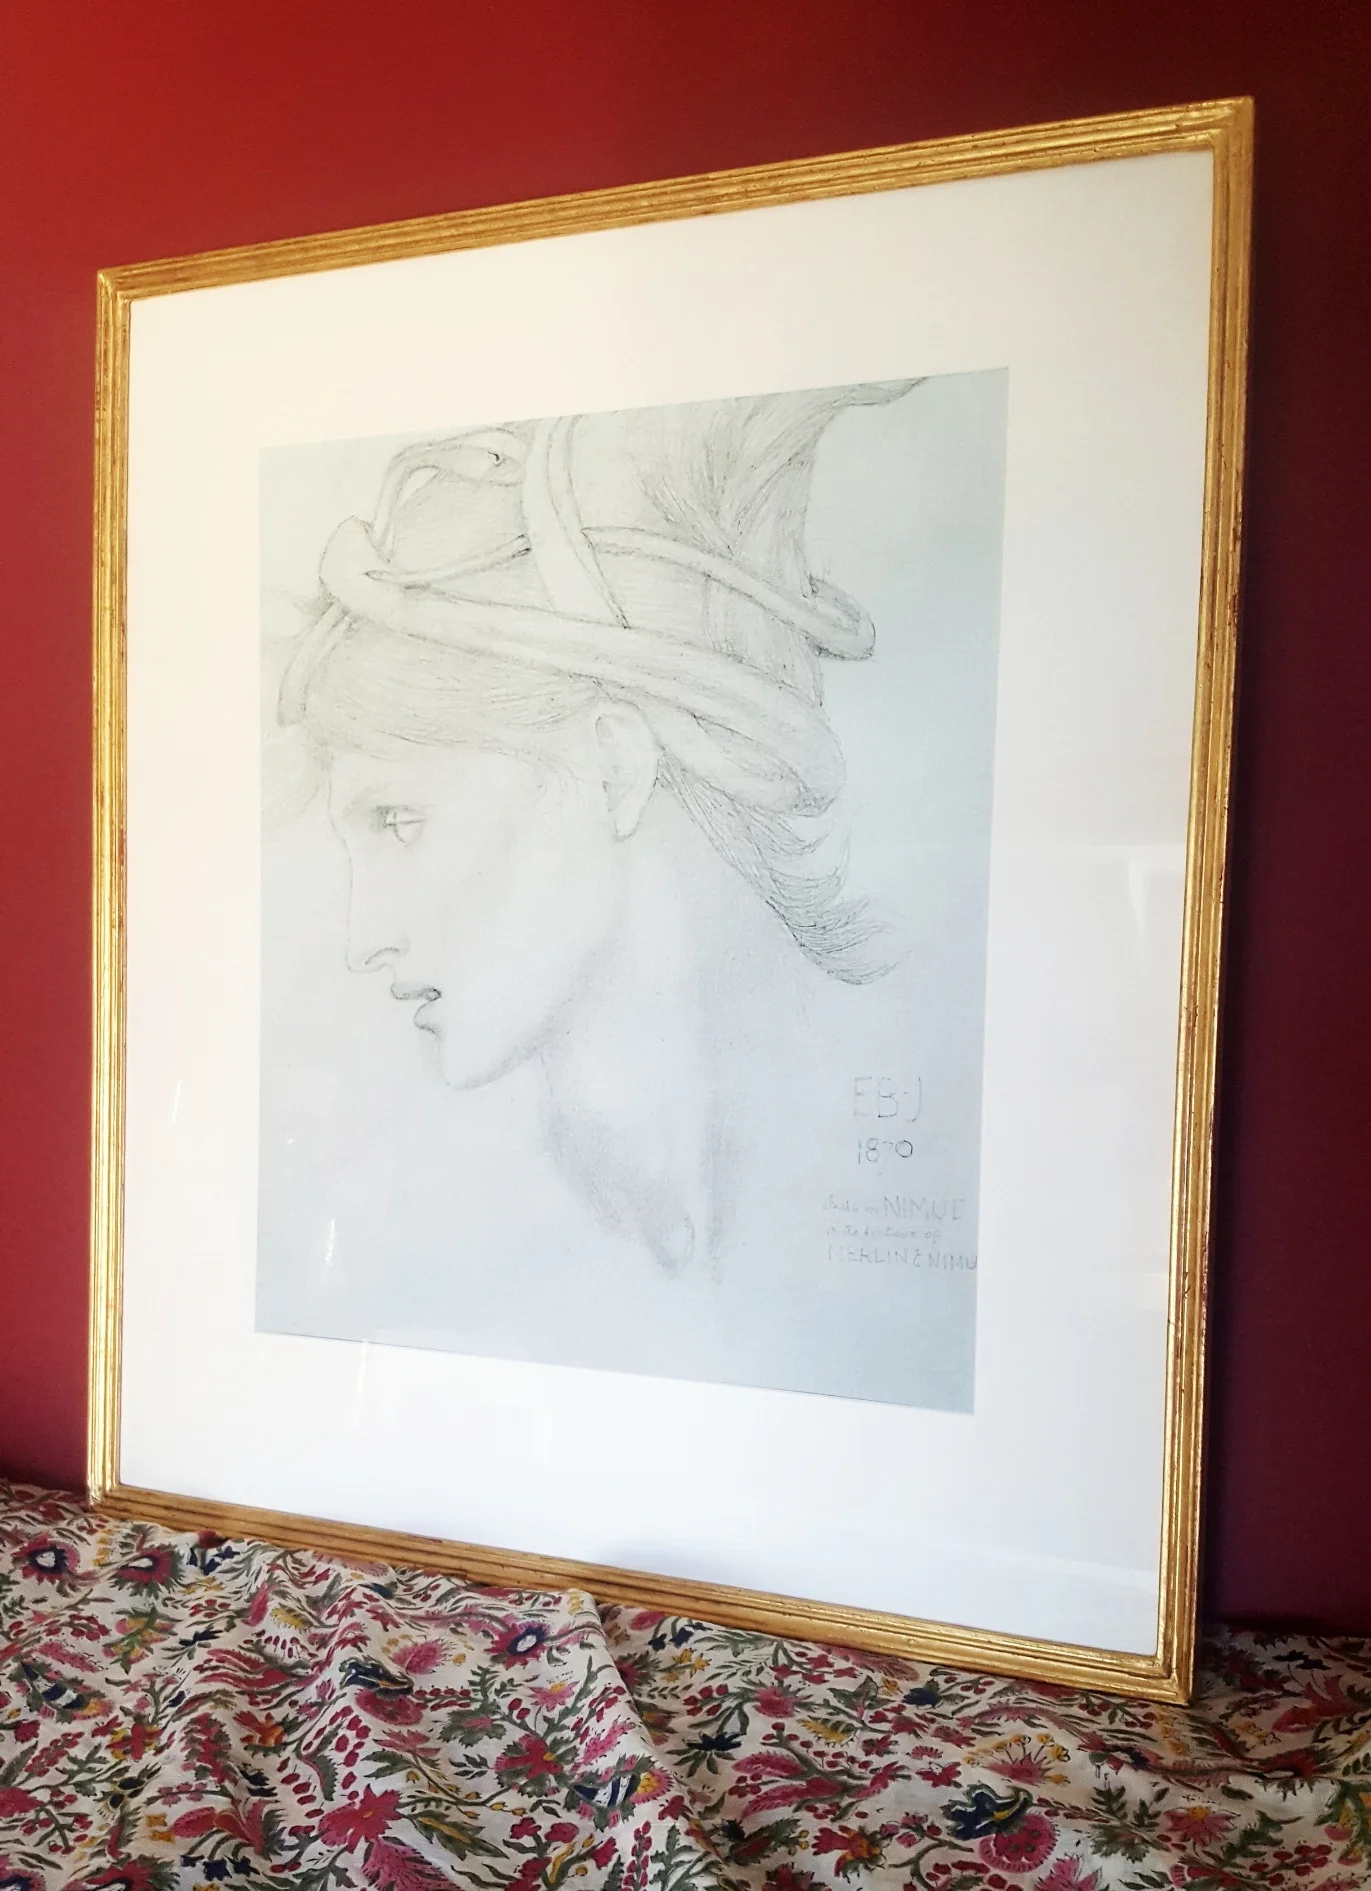
The Final Framed Work
All that was left to do after all of this was get the client’s beautiful print in place and deliver it along with the other work!
I think this lovely portrait looks very at home in the the grandeur of gold. Delighted the customer felt the same.