No. This is Not a Coronavirus Post

Journalling a Console
Finale/ Overview
This has long since been collected so I am catching up with myself.
Earlier this season I regilded a cast Iron console for a client who didn’t like the original gold finish. They had attempted to rectify this themselves with a gold spray paint from B&Q. They explained that they disliked the original gold because it was a little too flat and dull. Well unfortunately Spray gold excels in flat and dull so, they were disappointed to find they had added a problem onto a problem.
This was clearly an important piece to my client. It was to be a feature piece for a new home. So when we met I consulted with them about the tonality of the gold and they expressed the importance of the finish to be distressed yet still shining and with depth. I was left with a lamp from their home to work from, to give an idea of what my client was looking for.
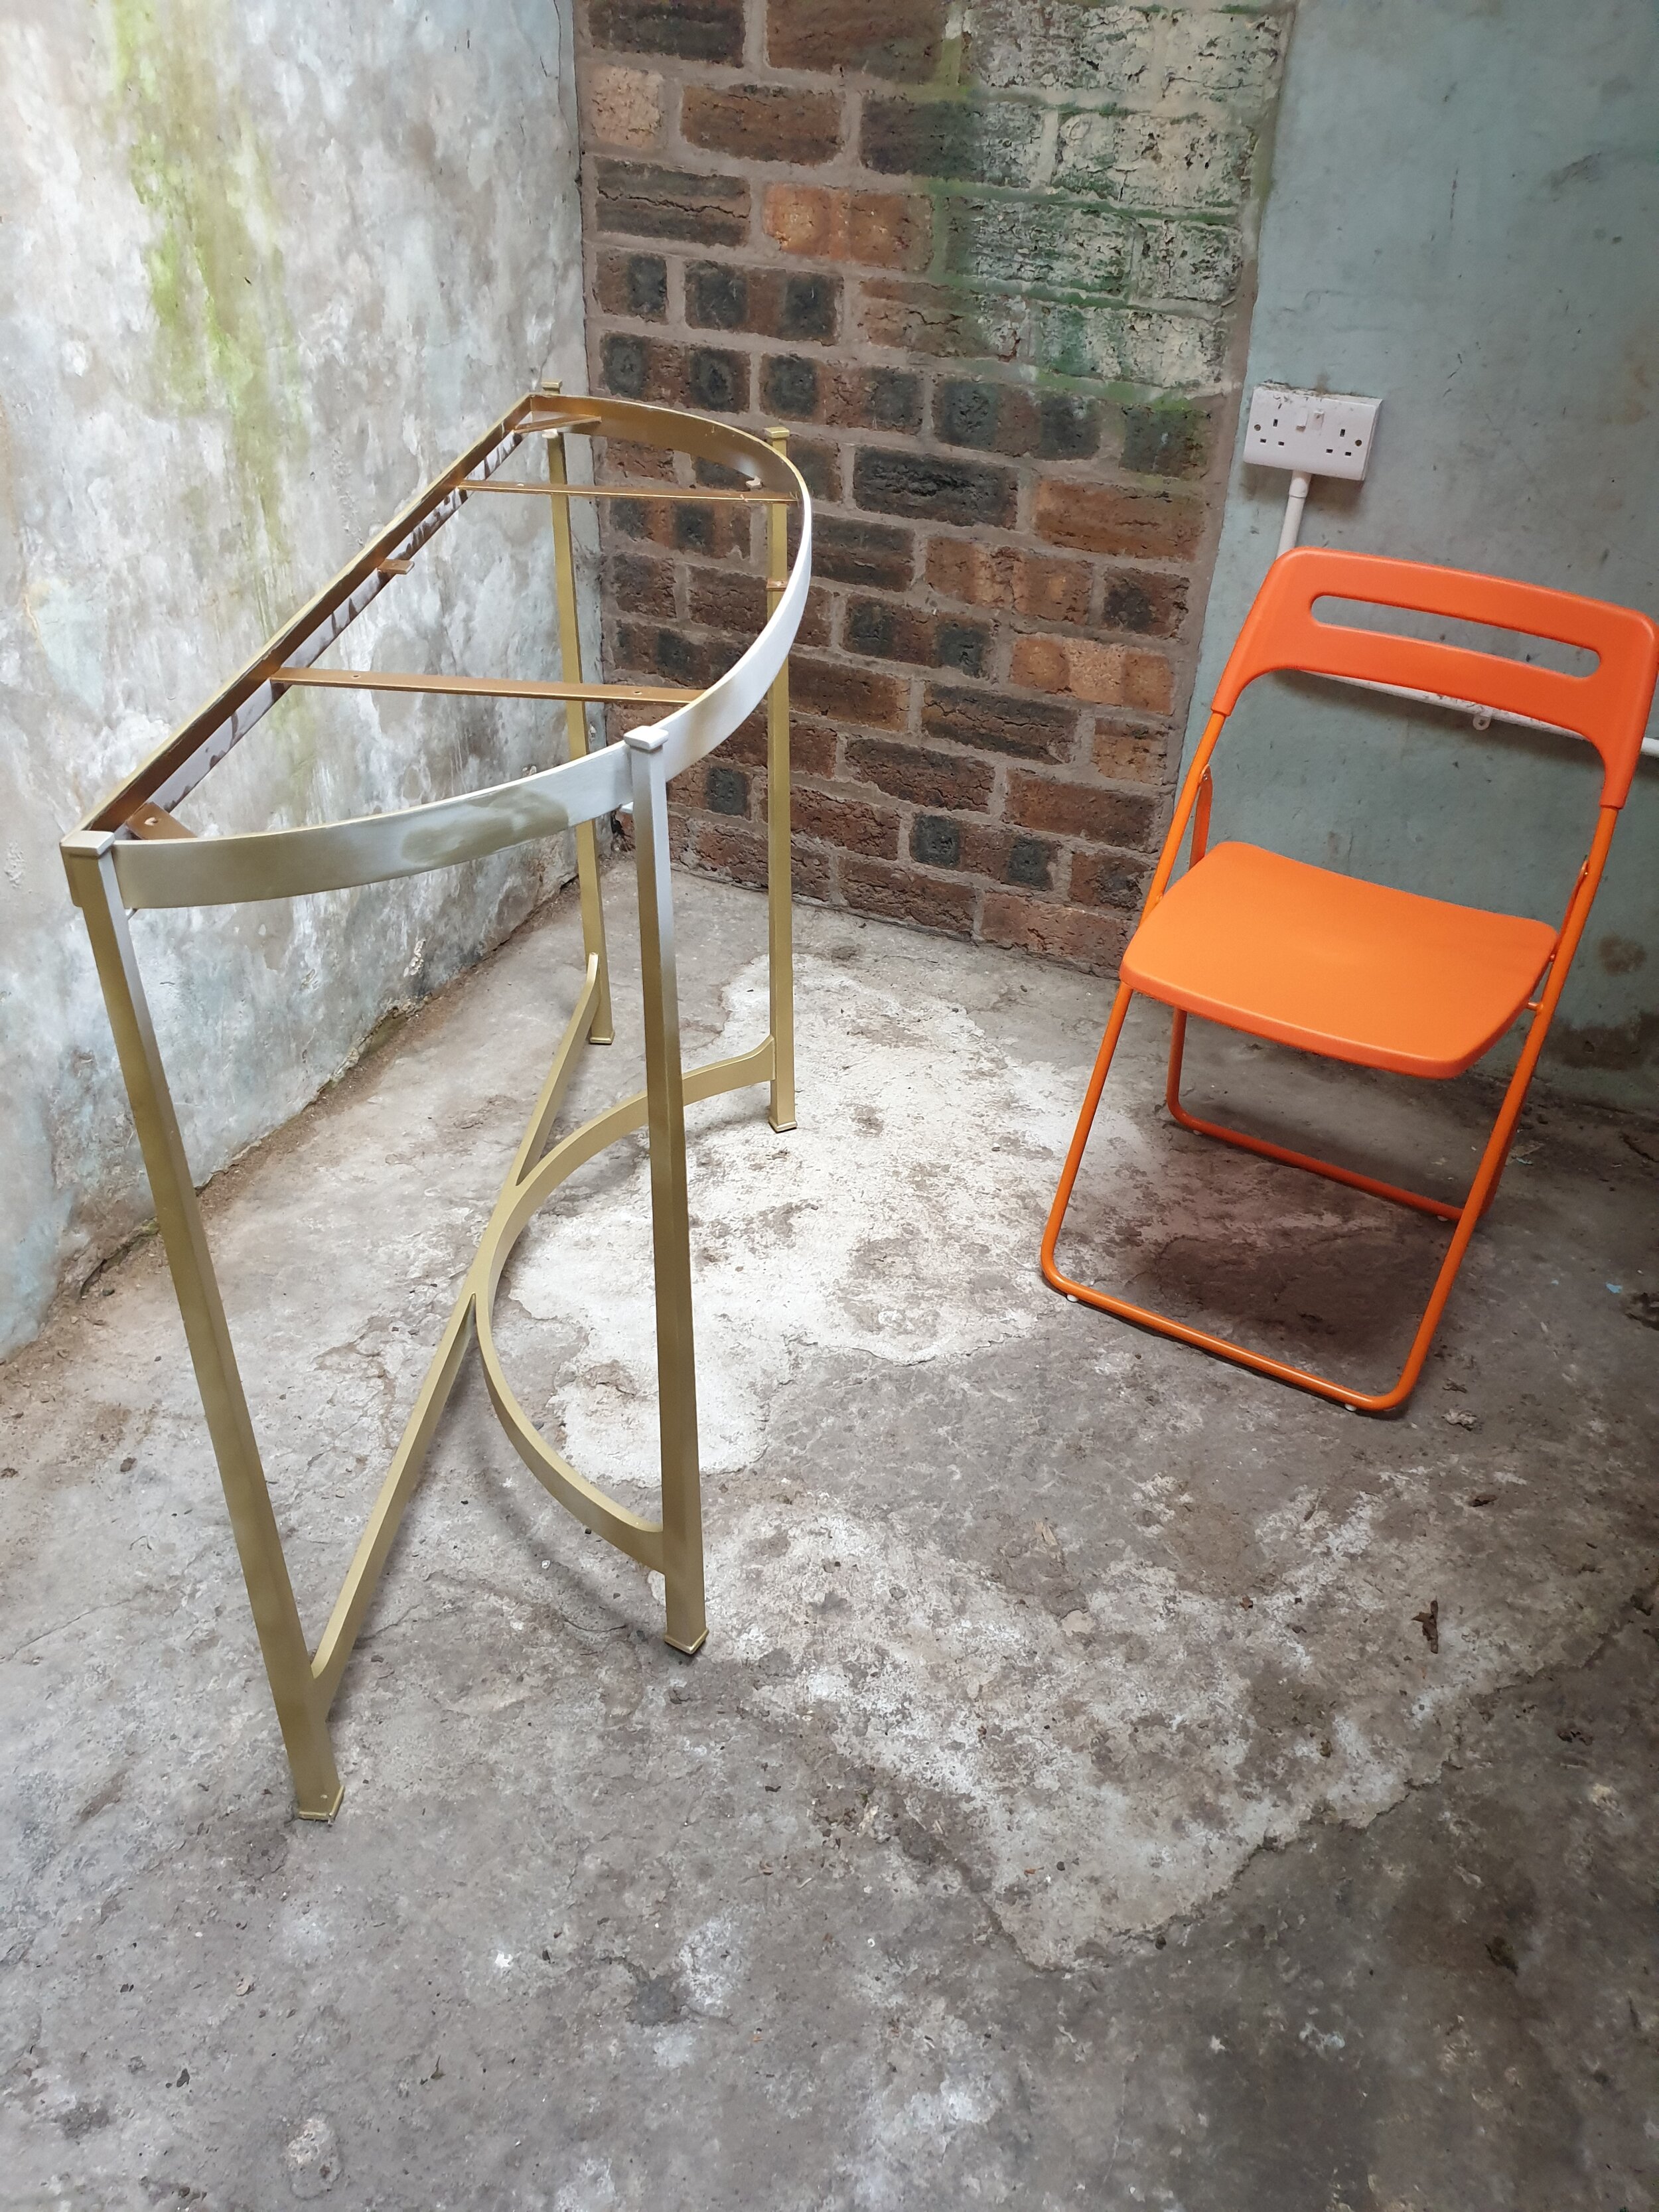
The first step was to remove the mirrored table top and store somewhere safe. Next was to remove the feet screwed into the base on the table legs. Anything that wasn’t requiring gilding/ sanding at this point.
Now I had to consolidate the spray paint layer plus the removal of the previous gold layer. This meant there was a lot to remove, and I wanted to do this the fastest and most efficient way possible. Paint Stripper.
For those who are not aware I had just moved to Shell Bay outside Elie in Fife, and now have a collection of small outbuildings. One of these made the perfect location for stripping the paint, gold and primer layers off of the table.

I know it looks horrendous, and so does the table.
But trust me. After laborious removal of the layers, I then to reapplied primer, built it up, until I was able to sand it smooth with a fine grade sandpaper.
When a perfectly smooth surface was finally achieved, it was time to start applying the gold leaf.
Now, there were many lessons learned along the way here. most of which I have communicated in my previous blogs about this project, so I won’t go into all of that again. However these are the basics;
The table was oil gilded using transfer 24t gold leaf cut to the size of each respective panel to save time and money.
The table was double gilded, by way of faulting, I just covered every surface area again. I was happy with the results.
The table was distressed. After gilding I sealed with a shellac and finished with a light brush of liberon Rambouillet wax and a heavier finish of black polish on the edges. Keeping the main facades as clean and gleaming as possible. The wax and the polish both at ‘age’ to the gold and depth. Keeping some texture in the gold facade also added to this feeling of age and distress while also allowing the gold to still sparkle. a little rottenstone came in useful for this.
The feet at the base were returned and any excess gold was brushed away.
The tabletop was repaired with silver leaf and replaced, and held in with silicone.
This all certainly didn’t happen overnight.
The table was collected the following week. I’m delighted at how pleased my client was. No matter how happy I am myself with a piece- it always delights me when the person I am doing work for is thrilled with what I have done for them. It is good to know, and I am grateful that people appreciate what I do and are willing to wait for my work, even though it could be months. Doing something right, is far more important than doing something fast.
So, that is my take away from this, I would say. That and- I would definitely use a yellow primer next time!
Anyway, that is it on the console front! Moving on….